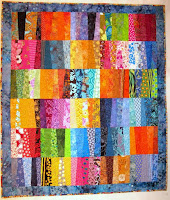
M's Mighty Stripes is finished. Also, I finished the four Project Improv blocks.

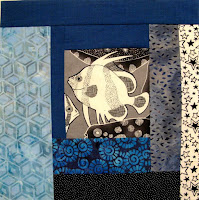
It inspired me to do my Black and White Challenge in the same type of blocks. Here is my first B/W/Blue log-cabin block:
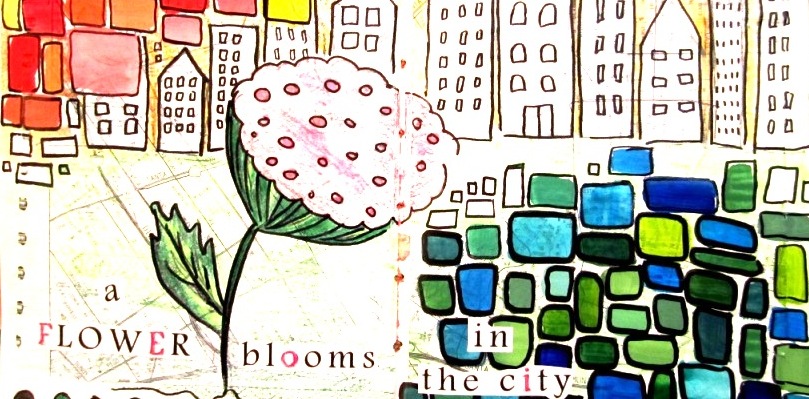
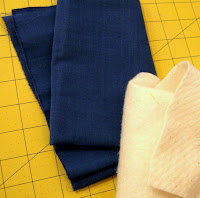
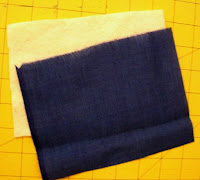
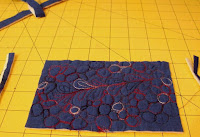
Here are my next batch of ATCs. I started with some pretty blue fabric and tried to use gold metallic thread to FMS but I broke two metallic needles trying to do it.

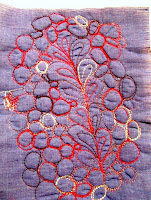
So I ended up using cream thread, and I painted in the circles with gold paint and gold and silver paint pens. I really like the result:

The gold paint is so lovely and vibrant, I got it at Utrecht Art, and some copper colored paint.

And I've been thinking about these Indian Orange Peel pieces again:
 I decided to spruce up some of the blocks for the quilt I'm making. I chopped up the panda block and inserted this 'crazy goose' I paper-pieced. It was pretty easy. I started by drawing a layout with Sharpie on tracing paper:
  Here is the finished block:

 Double chocolate cookies (Martha Stewart recipe). I rolled the balls of dough in granulated sugar. I think they turn out better that way.


 I use the Bernina 440QE with the BSR foot (stitch regulator). I used red/purple/gray variegated thread.
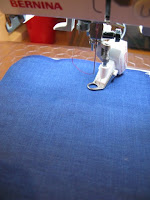 Do some FMS (free-motion stitch) on it or whatever you like:
 Cut down to size. Since I was doing a 4"x6" postcard, I cut it to 3.75"x5.75" but if you want more 'border' on the outside (ie postcard showing on the edges), then cut it smaller.
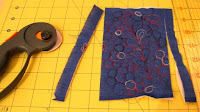
 Here are the paints I used. I like Golden Fluid Acrylics Iridescent Gold (Fine), it flows and is easy to work with. The stuff in the tubes is also very pretty, but thicker and harder to manipulate. If you don't want to paint your postcard, skip this step. Alternatively, you could sew on buttons or beads or put on glitter or whatever you want.
 I painted a copper color around the edge of the card since I didn't want any white showing.
 Then, I stitched the fabric rectangle to the postcard, using a simple stitch:
  Then, I painted the surface of the fabric.
 The finished product:


 M's Mighty Stripes is finished. Also, I finished the four Project Improv blocks.
  It inspired me to do my Black and White Challenge in the same type of blocks. Here is my first B/W/Blue log-cabin block:
 So I ended up using cream thread, and I painted in the circles with gold paint and gold and silver paint pens. I really like the result:
